Create einvoice with TallyPrime4.1
in this blogs we will create User Name and Password for eway Bill and how to enablement einvoice after this we create GSP and API Registration and than we suggest how to create a Eway Bill Direct from Tally, also we create einvoice directly from Tally.
To create a username and password on the e-way bill portal, follow these steps:
Visit the e-way bill portal: Go to the official e-way bill portal of your country. For example, in India, the e-way bill portal is https://ewaybillgst.gov.in/.
Click on “Registration”: On the homepage of the portal, look for the “Registration” option and click on it.
Select “For Registered User”: On the registration page, you’ll typically see two options: “For Registered User” and “For Unregistered User”. Since you are registering as a new user, select the “For Registered User” option.
Enter GSTIN: Enter your GSTIN (Goods and Services Taxpayer Identification Number) in the provided field. Make sure to enter it correctly.
Click on “Go” or “Submit”: After entering your GSTIN, click on the “Go” or “Submit” button. This will initiate the process of creating a username and password.
Fill in Details: You’ll be prompted to fill in various details such as your email address, mobile number, legal name of the business, etc. Make sure to provide accurate information.
Verification: After entering the details, you may be required to verify your email address and mobile number. This typically involves receiving an OTP (One-Time Password) on your mobile number and/or email, which you’ll need to enter on the portal for verification.
Create Username and Password: Once your details are verified, you’ll be prompted to create a username and password for your e-way bill portal account. Pick a username and secret word that are not difficult to recollect yet secure.
Submit: After creating your username and password, submit the form. You may receive a confirmation message indicating that your registration is successful.
Login: Once you’ve created your username and password, you can log in to the e-way bill portal using these credentials.
That’s it! You have now successfully created a username and password on the e-way bill portal. You can use these credentials to access the portal and perform various tasks related to e-way bills, such as generating, cancelling, or updating e-way bills, as well as other GST-related activities.
if you want more details please check our Video for above Steps, with visual effect https://youtu.be/zdcHRHjMcgM
Enabling einvoice and checking your status for einvoice typically involves registering on the einvoice portal and verifying your status. Here’s a general guide on how to enable einvoice and check your status:
Visit the einvoice Portal: Go to the official einvoice portal designated by the tax authority in your country. For instance, in India, the einvoice portal is https://einvoice.gst.gov.in/.
Login or Register: If you already have an account on the einvoice portal, log in using your credentials. If not, you may need to register as a new user.
Navigate to User Profile: Once logged in, navigate to your user profile or settings section. This is typically located in the top-right corner of the portal interface.
Enable E-Invoicing: In your user profile or settings, there should be an option to enable e-invoicing. Click on this option to enable e-invoicing for your account.
Provide Necessary Details: You may be required to provide additional details such as your GSTIN (Goods and Services Taxpayer Identification Number), legal business name, contact details, etc.
Submit and Verify: After providing the necessary details, submit the form. You might have to confirm your character through an OTP (Once Secret key) shipped off your enlisted portable number or email.
Check Status: Once you have enabled e-invoicing, you can check your status to ensure that e-invoicing is active for your account. This status may be displayed in your user profile or settings section of the portal.
Verify Compliance: After enabling e-invoicing and checking your status, make sure to verify that your business is compliant with all the requirements for e-invoicing as per the regulations in your country.
Generate einvoice: Once e-invoicing is enabled and your status is active, you can start generating einvoice for your business transactions through the portal.
It’s important to note that the specific steps and procedures may vary depending on the einvoice portal and the regulations in your country. Therefore, it’s recommended to refer to the official documentation and guidelines provided by the tax authority for accurate information on enabling e-invoicing and checking your status.
if you want above steps with visual effect please check this video https://studio.youtube.com/video/5d8ulXQ_gIQ/edit
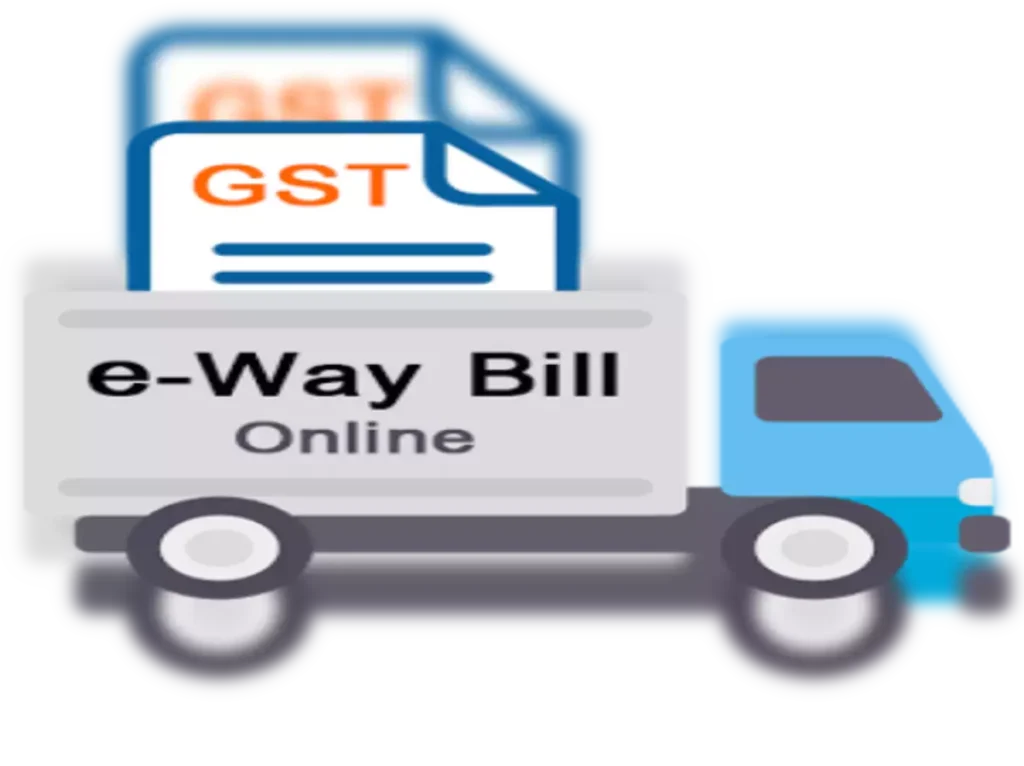
Creating an e-way bill in TallyPrime involves several steps. Here’s a step-by-step guide:
Ensure e-way bill configurations are set up: Before creating e-way bills in TallyPrime, you need to ensure that e-way bill configurations are set up correctly. This includes configuring GST details and e-way bill settings. You can do this by navigating to Gateway of Tally -> F11: Features -> F3: Statutory & Taxation and enabling the e-way bill option.
Create a Sales Invoice: Generate a sales invoice for the transaction for which you want to create the e-way bill. You can do this by navigating to Gateway of Tally -> Accounting Vouchers -> F8: Sales.
Enter Party Details: In the sales invoice, enter the details of the party to whom the goods are being sold.
Enter Item Details: Enter the details of the items being sold, including quantity, rate, and tax details.
Provide Transporter Details: After entering the item details, provide the transporter details in the sales invoice.
Provide E-way Bill Details: Once the transporter details are entered, you’ll be prompted to enter e-way bill details. Provide the necessary information such as transportation mode, vehicle number, and distance.
Generate E-way Bill: After providing all the necessary details, you can generate the e-way bill directly from TallyPrime. Follow the prompts on the screen to generate the e-way bill.
Save and Print: Once the e-way bill is generated successfully, save the sales invoice and print the invoice along with the e-way bill.
Update E-way Bill Information in the Portal (if required): Depending on the integration of TallyPrime with the e-way bill portal, you may need to update the e-way bill information on the portal separately.
By following these steps, you can create an e-way bill using TallyPrime for your transactions. Make sure to review the e-way bill rules and regulations applicable in your region to ensure compliance.
now check its very easy you can create eway bill with TallyPrime https://youtu.be/XVaCAv8R2s8
To create an e-invoice and e-way bill using TallyPrime, you’ll need to ensure that your TallyPrime software is configured correctly to support e-invoicing and e-way bill generation. Here’s a step-by-step guide:
Ensure e-invoice and e-way bill configurations are set up: Before creating e-invoices and e-way bills in TallyPrime, you need to ensure that e-invoice and e-way bill configurations are set up correctly. This includes configuring GST details, e-invoice settings, and e-way bill settings. You can do this by navigating to Gateway of Tally -> F11: Features -> F3: Statutory & Taxation and enabling the e-invoice and e-way bill options.
Create a Sales Invoice: Generate a sales invoice for the transaction for which you want to create the e-invoice and e-way bill. You can do this by navigating to Gateway of Tally -> Accounting Vouchers -> F8: Sales.
Enter Party Details: In the sales invoice, enter the details of the party to whom the goods are being sold.
Enter Item Details: Enter the details of the items being sold, including quantity, rate, and tax details.
Provide Transporter Details: After entering the item details, provide the transporter details in the sales invoice.
Generate E-invoice: Once the transporter details are entered, you’ll be prompted to generate the e-invoice. Follow the prompts on the screen to generate the e-invoice.
Generate E-way Bill: After generating the e-invoice, you can proceed to generate the e-way bill directly from TallyPrime. Follow the prompts on the screen to generate the e-way bill.
Save and Print: Once the e-way bill is generated successfully, save the sales invoice and print the invoice along with the e-invoice and e-way bill details.
Update E-invoice and E-way Bill Information in the Portal (if required): Depending on the integration of TallyPrime with the e-invoice and e-way bill portals, you may need to update the e-invoice and e-way bill information on the respective portals separately.
By following these steps, you can create an e-invoice and e-way bill using TallyPrime for your transactions. Make sure to review the e-invoicing and e-way bill rules and regulations applicable in your region to ensure compliance.
I think its very easy einvoice creation with TallyPrime if you want to more details you can visit our Playlist
https://www.youtube.com/playlist?list=PLDeP-l-F9MHat2E8DfRlPoNfO7Z0Q-qPL
You can purchase TallyPrime Latest version, Please contact with us https://tallyprime.store/contactus/